Getting familiar with your DSLR camera can feel like a big task, but don’t worry! Once you break it down, it’s easier than you think. It's all about understanding the key components and how they work together to capture those stunning shots.
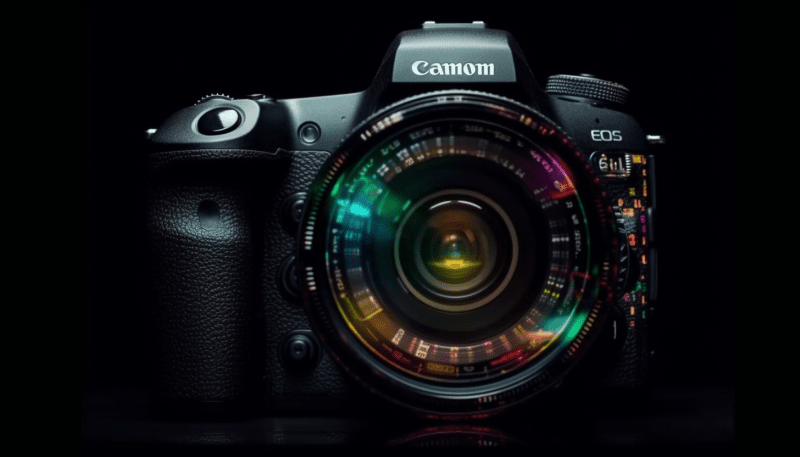
First off, let’s talk about the body of the camera. This is your main gear, where you'll find buttons for shooting modes, settings, and more. Don’t be afraid to press those buttons and see what they do! Playing around with them will help you understand how to use your camera in different situations.
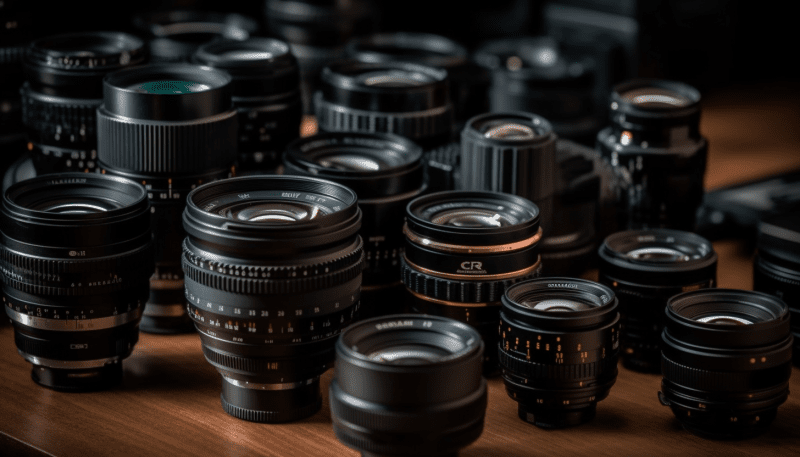
Next, let’s shine a light on the lens. The lens is like the eye of your camera, and it greatly affects how your pictures turn out. You’ll want to get a feel for different types of lenses—like standard, wide-angle, and telephoto—since they each offer unique perspectives. Experimenting with them will let you see how they change your photos.
Last but not least, don’t forget about settings like ISO, aperture, and shutter speed. These might sound technical, but they’re basically your camera’s way of letting you control how light enters and how images are captured. Playing around with these settings can enhance your creativity and help you grab some extraordinary shots!
Essential Settings for Stunning Photos
Getting the perfect shot with your DSLR often comes down to a few key settings. Let's break down the essentials that can really make your photos pop.
Aperture: This controls how much light enters your camera. A lower f-stop number (like f/1.8) means a wider aperture, letting in more light. This is great for portraits—the blurred background keeps the focus on your subject. In contrast, a higher f-stop (like f/11) is perfect for landscapes, keeping everything in focus.
Shutter Speed: This is all about timing. Faster shutter speeds (like 1/500) help freeze motion—ideal for sports or wildlife photography. Slower speeds (like 1/30) can create a blur effect for moving subjects, but you’ll need a steady hand or a tripod to avoid camera shake.
ISO: Think of ISO as your camera’s sensitivity to light. A low ISO (like 100) is perfect for bright conditions, while a higher ISO (like 1600 or more) can help in low light. Just remember, going too high can introduce noise, which may make your photos look grainy.
Lastly, don’t forget your white balance settings! Adjusting this can make your photos look more natural by correcting colors based on the lighting conditions. A cloudy day, for instance, might need a different setting than shooting under tungsten lights. Experiment with these settings to see how they change your photos!
Composition Tips for Eye-Catching Shots
When it comes to photography, composition can make or break your shot. Here are some straightforward tips to help you create stunning images that grab attention.
1. The Rule of Thirds
Imagine your frame is split into nine equal parts, with two horizontal and two vertical lines. Place your subject at the intersection points or along the lines. This technique works wonders in creating balance and interest in your photos. It’s an easy way to make your shots pop!
2. Leading Lines
Use natural lines in your scene to lead the viewer's eye toward your subject. Roads, pathways, or even shadows can guide the gaze and add depth. This technique helps create a sense of flow, keeping viewers engaged.
3. Framing
Look for elements in your surroundings that can frame your subject, like branches, windows, or doorways. This adds context and can make your subject stand out more. It’s like creating a little window into what you want to highlight.
4. Shoot from Different Angles
Don’t be afraid to try various perspectives! Get low, shoot from above, or change your distance from the subject. Each angle can tell a different story or create a unique visual impact. Experimentation can lead you to surprising and beautiful results!
Post-Processing Made Easy and Fun
Post-processing doesn’t have to be a chore! In fact, it can be one of the most enjoyable parts of photography. When you take a moment to edit your photos, you can enhance their beauty and really bring your vision to life. Here are some fun tips to make post-processing feel less daunting and more like a creative playground.
First off, consider using software that matches your skill level. If you're just starting, tools like Lightroom and Snapseed are user-friendly and perfect for beginners. They offer great presets and easy sliders that let you fine-tune your images without getting overwhelmed. Plus, they come with plenty of tutorials that can help you learn new techniques along the way.
Next, don’t forget to embrace the editing process. Play around with colors, contrast, and brightness until you find a look that feels right for you. Use the “before and after” feature to see the difference your changes make. It's super satisfying! And if something doesn't turn out the way you wanted, that's perfectly okay—just undo it and try again.
Lastly, have fun with creative effects! Try adding a touch of grain for a vintage look or play with the clarity to make your images pop. You can even experiment with filters and overlays to give your images a unique twist that reflects your style. The key is to enjoy the process and discover what you love!